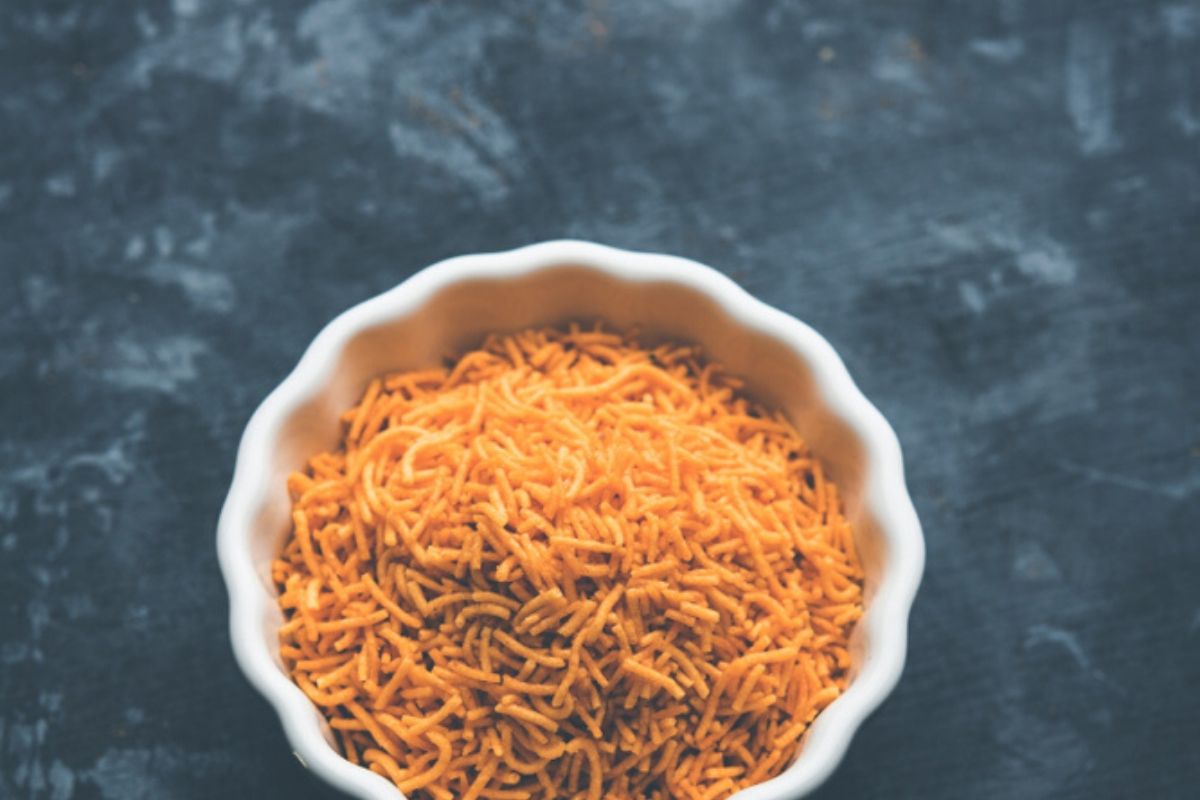
Aloo Bhujia Recipe | Indian Snacks
Haldiram’s style Aloo Bhujia Recipe – Lockdown 2.0 and i have ran out of GF supplies like biscuits, namkeens etc etc. I can always order the new batch but i am trying to use and make do with what i have first. So some 2-3 days ago i really wanted to have Aloo Bhujia, but then the popular brand’s bhujia packs are gluten contaminated so i decided to make my own at home. My aloo bhujia recipe is fairly simple, but the part where you have to make thin bhujia strips is not so simple if you don’t have the right equipment. I will elaborate more on this later, let’s check the ingredients and the method.
Prep Time: 10 mins
Cooking Time: Under 10 mins
Serves: Enough for 1 person to last a week.
What Ingredients Do You Need to Make Aloo Bhujia:
- Besan ( Gram Flour): 1 1/2 cup
- Boiled potato (large): 1 peeled and grated
- White rice or brown rice flour: 1/4 cup
- Kashmiri chilli powder/ paprika powder: 1 1/2 tsp
- Ajwain seeds (carom seeds): 2 tsps
- Turmeric Powder: 1 tsp
- Salt to taste
- Pepper powder: 1 tsp
- Dry mango powder (aamchur): 1/2 tsp
- Oil for kneading: 2 tsp
- Additional oil for deep frying
- Water for kneading: 1/3 cup approx
Method:
- Boil, peel and grate a potato.
- To this grated potato, add the rice flour, besan (gram flour), salt, pepper powder, chilli powder, ajwain, seeds, turmeric powder, dry mango powder and oil.
- Knead, no need to add water right now. After some time the flour will start coming together like this (shown in the pic below).’
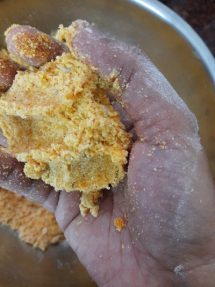
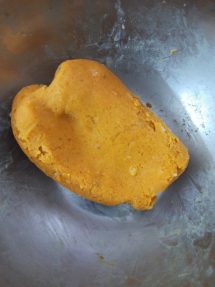
- Now start adding water, DO NOT add all at once. Add slowly as you knead. Also, you may need less water than 1/3 cup to knead the dough. The quantity of water required also depends on the quality of the flours, hence it may vary. Knead the dough adding water if required to a smooth and soft dough.
- The consistency of the dough should be soft and a bit sticky.
- Time to make the thin stripes: there are a coupe of ways to do this: the simplest is to use the muruku maker apparatus with the small hole adjustment to make this. But if you don’t have it then you can use the lemon squeezer (this is time consuming, the result of the strips will be good but the process will take time), third solution is to use the everyday chalni (spatula) that has a lot of holes in it. Whatever equipment you decide to use, make sure you apply oil on it else the dough will stick to the spatula, squeezer etc.
- Make the strips (i used lemon squeezer)
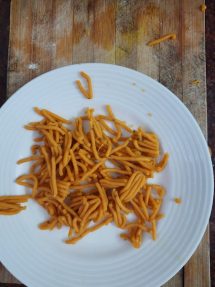
- Deep fry in any vegetable oil. Fry in batches.
- If you are using the muruku maker machine then you can directly make the strips and fry them in oil. After frying you can break the long strips with hands.
- Store the aloo bhujia in an air tight container, enjoy with tea/coffee.
For other snack recipes click here.

Haldiram’s Style Aloo Bhujia Recipe – Indian Gluten-free Snack
Course: SnacksCuisine: Indian1
servings10
minutes10
minutes20
minutesIngredients
Besan ( Gram Flour): 1 1/2 cup
Boiled potato (large): 1 peeled and grated
White rice or brown rice flour: 1/4 cup
Kashmiri chilli powder/ paprika powder: 1 1/2 tsp
Ajwain seeds (carom seeds): 2 tsps
Turmeric Powder: 1 tsp
Salt to taste
Pepper powder: 1 tsp
Dry mango powder (aamchur): 1/2 tsp
Oil for kneading: 2 tsp
Additional oil for deep frying
Water for kneading: 1/3 cup approx
Directions
- Boil, peel and grate a potato.
- To this grated potato, add the rice flour, besan (gram flour), salt, pepper powder, chilli powder, ajwain, seeds, turmeric powder, dry mango powder and oil.
- Knead, no need to add water right now. After some time the flour will start coming together like this (shown in the pic below).’
- Now start adding water, DO NOT add all at once. Add slowly as you knead. Also, you may need less water than 1/3 cup to knead the dough. The quantity of water required also depends on the quality of the flours, hence it may vary. Knead the dough adding water if required to a smooth and soft dough.
- The consistency of the dough should be soft and a bit sticky.
- Time to make the thin stripes: there is a couple of ways to do this: the simplest is to use the muruku maker apparatus with the small hole adjustment to make this. But if you don’t have it then you can use the lemon squeezer (this is time-consuming, the result of the strips will be good but the process will take time), third solution is to use the everyday chalni (spatula) that has a lot of holes in it. Whatever equipment you decide to use, make sure you apply oil on it else the dough will stick to the spatula, squeezer, etc.
- Make the strips (i used a lemon squeezer)
- Deep fry in any vegetable oil. Fry in batches.
- If you are using the muruku maker machine then you can directly make the strips and fry them in oil. After frying, you can break the long strips with your hands.
- Store the aloo bhujia in an air-tight container, enjoy with tea/coffee.


This Post Has One Comment
It is very helpful and interesting . Thank you for sharing a great information.