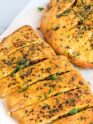
Pita bread is my go-to meal when I am feeling a bit lazy to cook. Yes, most of you may think ‘whattttt’ it is so time-consuming to make the bread, so here is the easy and homemade pita bread recipe. I am going to give you an ultimate tip and cheat to make these breads at home whenever you are feeling lazy or when you really wanna eat something tasty.
Here’s what I do. I make the dough, cling film wrap it, and then store in the fridge. This lasts up to 5-7 days and whenever I wanna make the pita bread, I take the dough out from the fridge, make small balls, roll them flat and make the breads in a pan. Yup that simple. The rolling and making the bread in a pan takes 4-5 mins. After this, i make a slit on the side of the bread so that I can fill it with various fillings of vegetables and meats.
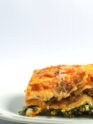
I have been making gluten free pita bread very regularly now, 3-4 times a week, actually I keep having fun with the fillings and this gives variations to my pita dinners. Sometimes I make very sweet and sour Asian filling, sometimes I keep it Indian, sometimes I do continental so by keeping the filling interesting I can make a new pita each time.
How to make Gluten Free Pita Bread at Home?
It is very simple, just take 3 cups of any Gluten free Bread flour (any blend that you use to make GF bread at home), add yeast to it, mix it will some water, and let it rest so that the dough rises, Basically think of it as bread, so you are making bread but not in the oven, on the stove in a pan, and that becomes your pita bread.
For people who are reading my post and who are gluten eaters, you guys can just take the all-purpose flour, add yeast, water, cover it, let the dough rise.
Ingredients:
GF bread flour: 3 cups
Sugar/honey: 1 tbsp. For the Vegan version use maple syrup
Oil: 1/4 cup
Salt: 1/2 tbsp
Warm Water: 1 cup+ 1/2 cup
Method:
- Make the yeast mix: In a cup of warm water (warm not HOT) add 1 tbsp sugar and 1 tsp yeast, mix well. Cover and leave it aside for 5-10 mins. After 5 mins you would see a very frothy mixture, if the froth hasn’t formed, go back and redo this whole thing. If there is no froth or less froth, it means the yeast is probably dead.
- In a big bowl, add 3 cups of Gluten-free bread flour. When I say bread flour I mean the flour blend mix that you often use to make your regular gluten-free breads at home. To this flour add salt, oil, and the yeast blend. Mix well.
- Now you would see after adding the yeast water and oil the dough is still dry. This means you gotta add more warm water to it. Add the water till you get a sticky dough consistency. Different dough blends respond differently so i suggest add 1/2 cup of water and see how it goes. If you feel that adding the 1/2 cup water the dough is not sticky enough, add a bit more. Do this till you get a very sticky consistency.
- Cover the bowl with cling film and leave it aside for a couple of hours. The dough should double in size- this means in winters it may take upto 2-3 hours, but it will double up in an hour in hot summer.
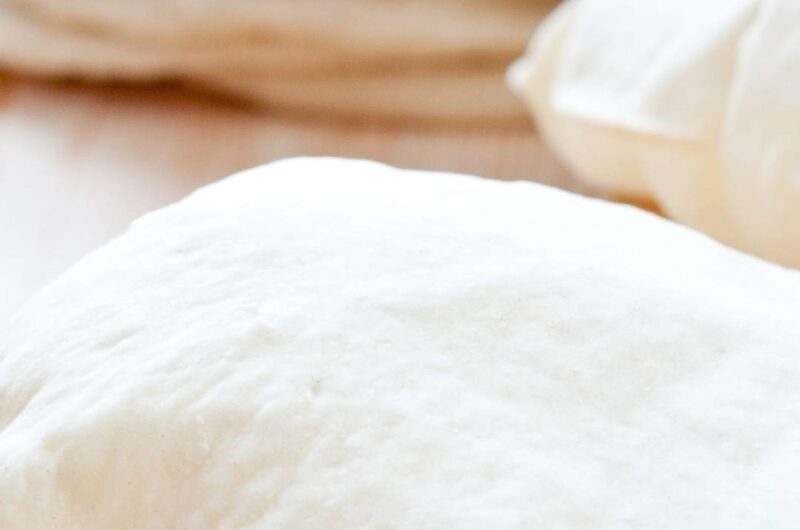
- After the dough doubles up in size, take it out on a working surface. Since the dough is sticky, sprinkle a lot of dry flour and make equal-sized balls.
- The size of the dough ball will be double that of the chapati dough ball.
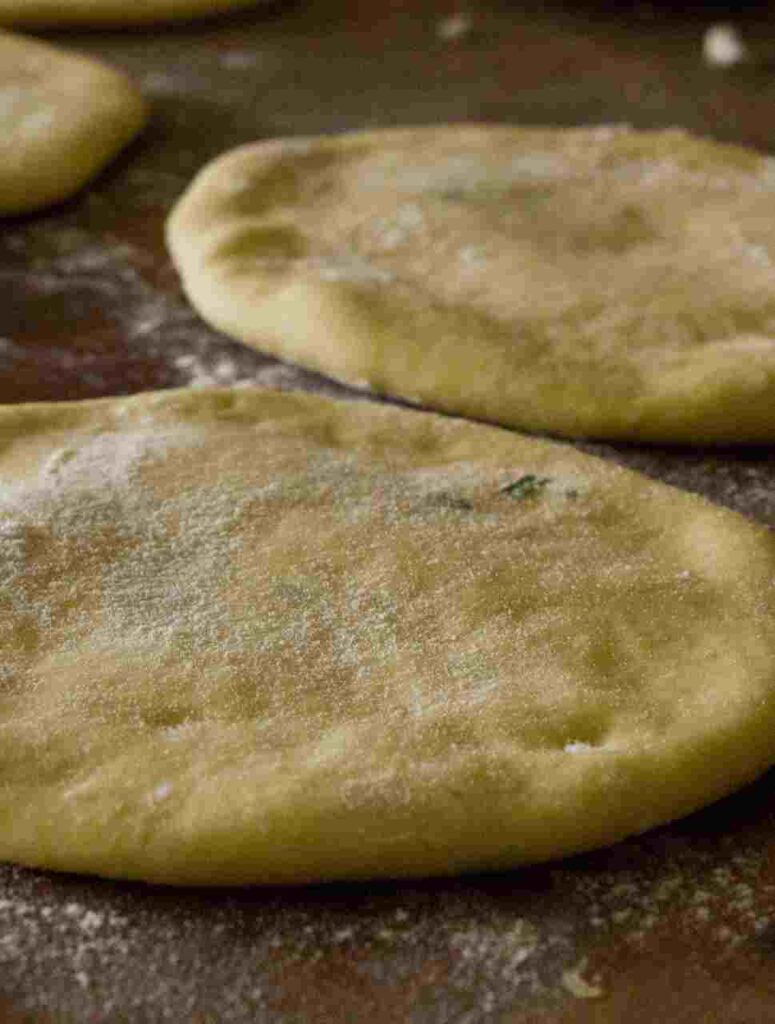
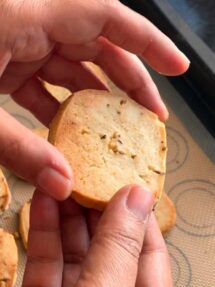
- Make round shapes using a rolling pin, make sure it is not too thin. You need thick pita discs so that there is space for you to cut them into halves from the sides.
- Now heat a heavy base pan or tawa.
- Add the pita disc on the hot tawa, let the base side cook for a few seconds. Flip the pita bread as soon as the base cooks a bit. Keep flipping back and forth.
- TIP: you need a fluffy pita bread so while flipping you also need to out pressure very gently on the pita bread with the spatula. When you apply gentle pressure the pita bread will fluff up on that particular place. So keep applying the pressure at various spots on the pita bread. (THIS PROCESS IS VERY MUCH LIKE THE CHAPATI MAKING PROCESS, WHEN WE WANT TO FLUFF THE CHAPATI UP WE USE THE SAME TECHNIQUE)
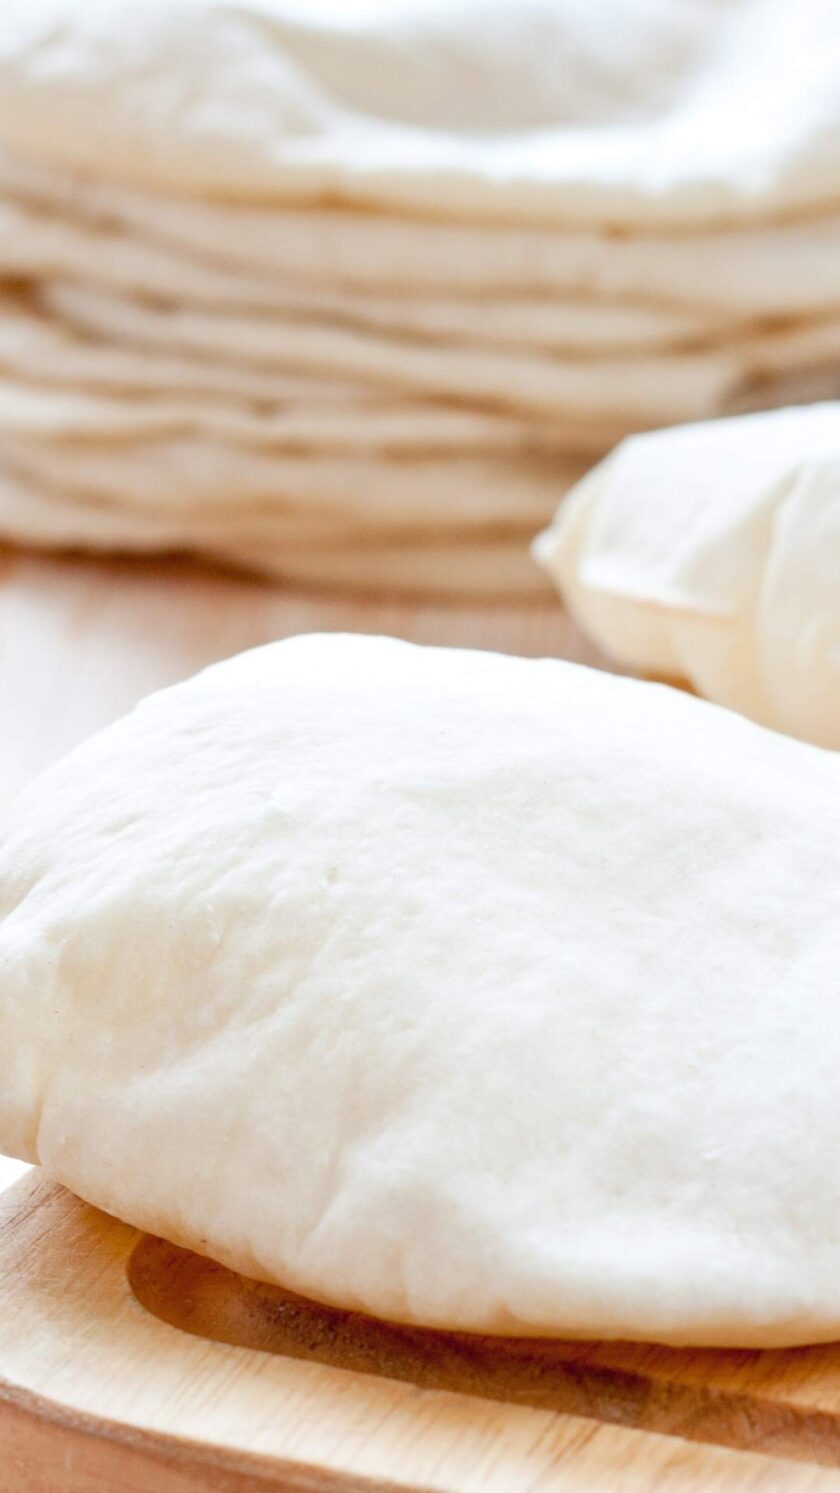
- When the pita bread turns a bit brown , it is time to take them off the pan.
- You gotta make a slit on the side of the pita bread immediately. It will be tough to make the slit after the bread cools down.
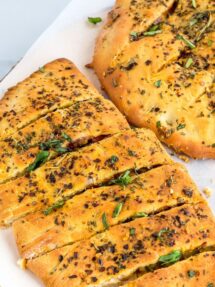
- The breads are ready, fill it with your favourite veggies and meats and customize the way you like.
TIP: Store the leftover pita dough in the fridge. Cling film it and store.
Gluten-free Pita Bread Recipe
Cuisine: Indian2-3
servings10
minutes15
minutes25
minutesIngredients
GF bread flour: 3 cups
Sugar/honey: 1 tbsp. For the Vegan version use maple syrup
Oil: 1/4 cup
Salt: 1/2 tbsp
Warm Water: 1 cup+ 1/2 cup
Directions
- Make the yeast mix: In a cup of warm water (warm not HOT) add 1 tbsp sugar and 1 tsp yeast, mix well. Cover and leave it aside for 5-10 mins. After 5 mins you would see a very frothy mixture, if the froth hasn’t formed, go back and redo this whole thing. If there is no froth or less froth, it means the yeast is probably dead.
- In a big bowl, add 3 cups of Gluten-free bread flour. When I say bread flour I mean the flour blend mix that you often use to make your regular gluten-free breads at home. To this flour add salt, oil, and the yeast blend. Mix well.
- Now you would see after adding the yeast water and oil the dough is still dry. This means you gotta add more warm water to it. Add the water till you get a sticky dough consistency. Different dough blends respond differently so i suggest add 1/2 cup of water and see how it goes. If you feel that adding the 1/2 cup water the dough is not sticky enough, add a bit more. Do this till you get a very sticky consistency.
- Cover the bowl with cling film and leave it aside for a couple of hours. The dough should double in size- this means in winters it may take upto 2-3 hours, but it will double up in an hour in hot summer.
- After the dough doubles up in size, take it out on a working surface. Since the dough is sticky, sprinkle a lot of dry flour and make equal-sized balls.
- The size of the dough ball will be double that of the chapati dough ball.
- Make round shapes using a rolling pin, make sure it is not too thin. You need thick pita discs so that there is space for you to cut them into halves from the sides.
- Now heat a heavy base pan or tawa.
- Add the pita disc on the hot tawa, let the base side cook for a few seconds. Flip the pita bread as soon as the base cooks a bit. Keep flipping back and forth.
- TIP: you need a fluffy pita bread so while flipping you also need to out pressure very gently on the pita bread with the spatula. When you apply gentle pressure the pita bread will fluff up on that particular place. So keep applying the pressure at various spots on the pita bread. (THIS PROCESS IS VERY MUCH LIKE THE CHAPATI MAKING PROCESS, WHEN WE WANT TO FLUFF THE CHAPATI UP WE USE THE SAME TECHNIQUE)
- When the pita bread turns a bit brown , it is time to take them off the pan.
- You gotta make a slit on the side of the pita bread immediately. It will be tough to make the slit after the bread cools down.
- The breads are ready, fill it with your favourite veggies and meats and customize the way you like.
Notes
- TIP: Store the leftover pita dough in the fridge. Cling film it and store.


This Post Has 6 Comments
I got this recipe in my newsletter and i immediately went to the kitchen to make the breads. they turned out so good, they almost had soft naan like feel to them. I stuffed them with some chicken tikkas and vegetables and had them for dinner.
This is my weekday staple, Khushboo your recipes are so simple you sorted made my weekday dinner issues. I make these instead of tasteless gluten-free chapatis.
Really appreciate you sharing this blog article. Really looking forward to read more. Great. Bibbie Dwight Collin
Thank you. I appreciate you like it.
Would it be possible to share which type of yeast you used for this recipe please?
I used dry yeast. Solar brand.